Today we’re going to give you a little behind-the-scenes look at our Village Candle photoshoots! Since you can’t smell a candle through a photo, one of our goals of our candle photography is to give a peek into the experience you’re going to have while burning the candle! We want the photos to share our vision of the candle, the notes of the fragrance, and spark a feeling with the customer. We’re going to take a look at what went into photographing our new seasonal fragrance, Spiced Vanilla Apple.
Step One: Inspiration & Brainstorming
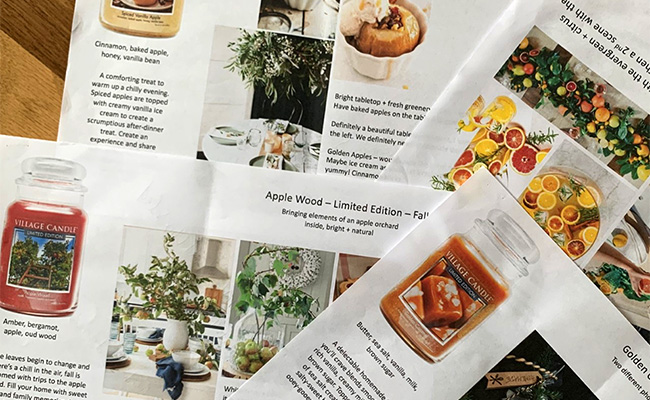
Before the photoshoot even begins, we brainstorm ideas of what we’d like the photograph to look like or elements that we’d like featured. Of course, the candle is the star of the show so everything that surrounds it needs to compliment the color, the label, and fragrance. When brainstorming for Spiced Vanilla Apple, we knew that we wanted to create a cozy kitchen moment which of course featured a few beautiful baked apples – just like the label! From there we’ll find some inspiration images and provide them to the photo stylist, here are a few of our inspiration boards!
Step Two: Getting Props & Finding a Location
After the inspiration and brainstorming process, we pass our ideas along to the photo stylist so she can begin gathering props and find a location! For our Village Candle shoots, we always shoot in local Maine homes. We shot at ‘This Maine House’ for this shoot, which is such a great versatile location, we can do everything from spring floral favorites to festive Christmas fragrances.
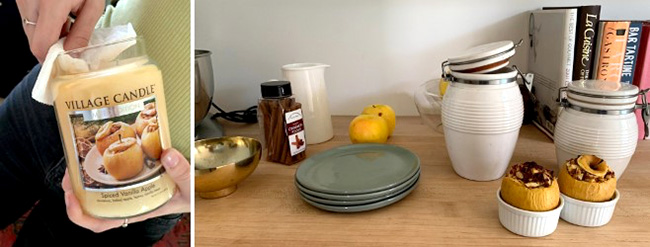
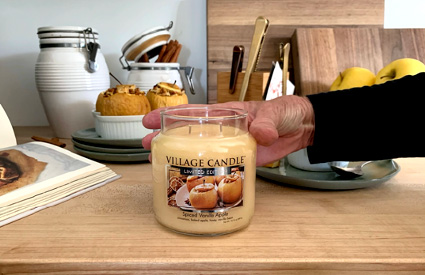
Step Three: Prep the Candle & the Shot
As we’re getting ready to photograph the candle, we need to clean the inside and outside of the glass jar to wipe away any wax droplets from its time in the factory. This prevents any blurriness in the photo, so you can clearly see the flames and two wicks. While someone is cleaning the candle, the prop stylist will begin placing potential props that we’d like featured in the shot. Here you can see that we’re looking at using cinnamon sticks, apples (fresh & baked), different jars, or bowls – testing all these different options to see what looks best!
Sometimes a shot doesn’t always fall into place, some take a lot longer than others, which is why having a great location and prop options is always a must!
Step Four: Finalizing the Shot & Placing the Candle
Once you’ve tested out different props and done a few test shots, it’s time to finalize the shot! This means that you’re make those few last-minute adjustments, and only slightly moving certain elements to make sure they are all in the frame. At this point it’s time to finalize the placement of the candle and twisting it to make sure that the label, logo, and wicks are centered.
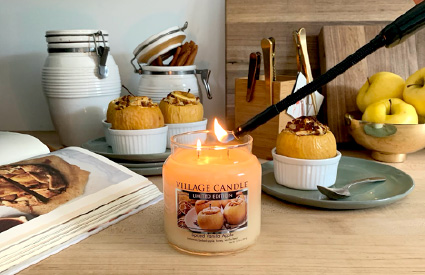
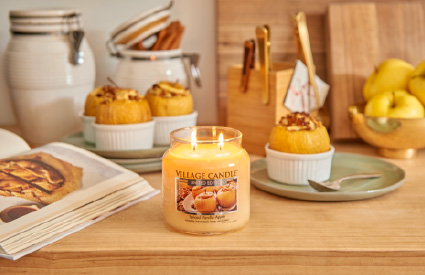
Step Five: Light the Candle & Take the Picture!
Now all you have to do is light the candle and take a picture! Make sure the flames are straight and even, if needed you may need to trim the wicks slightly. Check out the final result below!